Troubleshooting
Roomba Not Charging: How to Find the Cause and Fix It
A step-by-step check of the dock, the charging contacts and the battery, what iRobot says each charging error means, and when a replacement battery or a new robot is the honest answer.
As an Amazon Associate we earn from qualifying purchases, at no cost to you. How we make money.
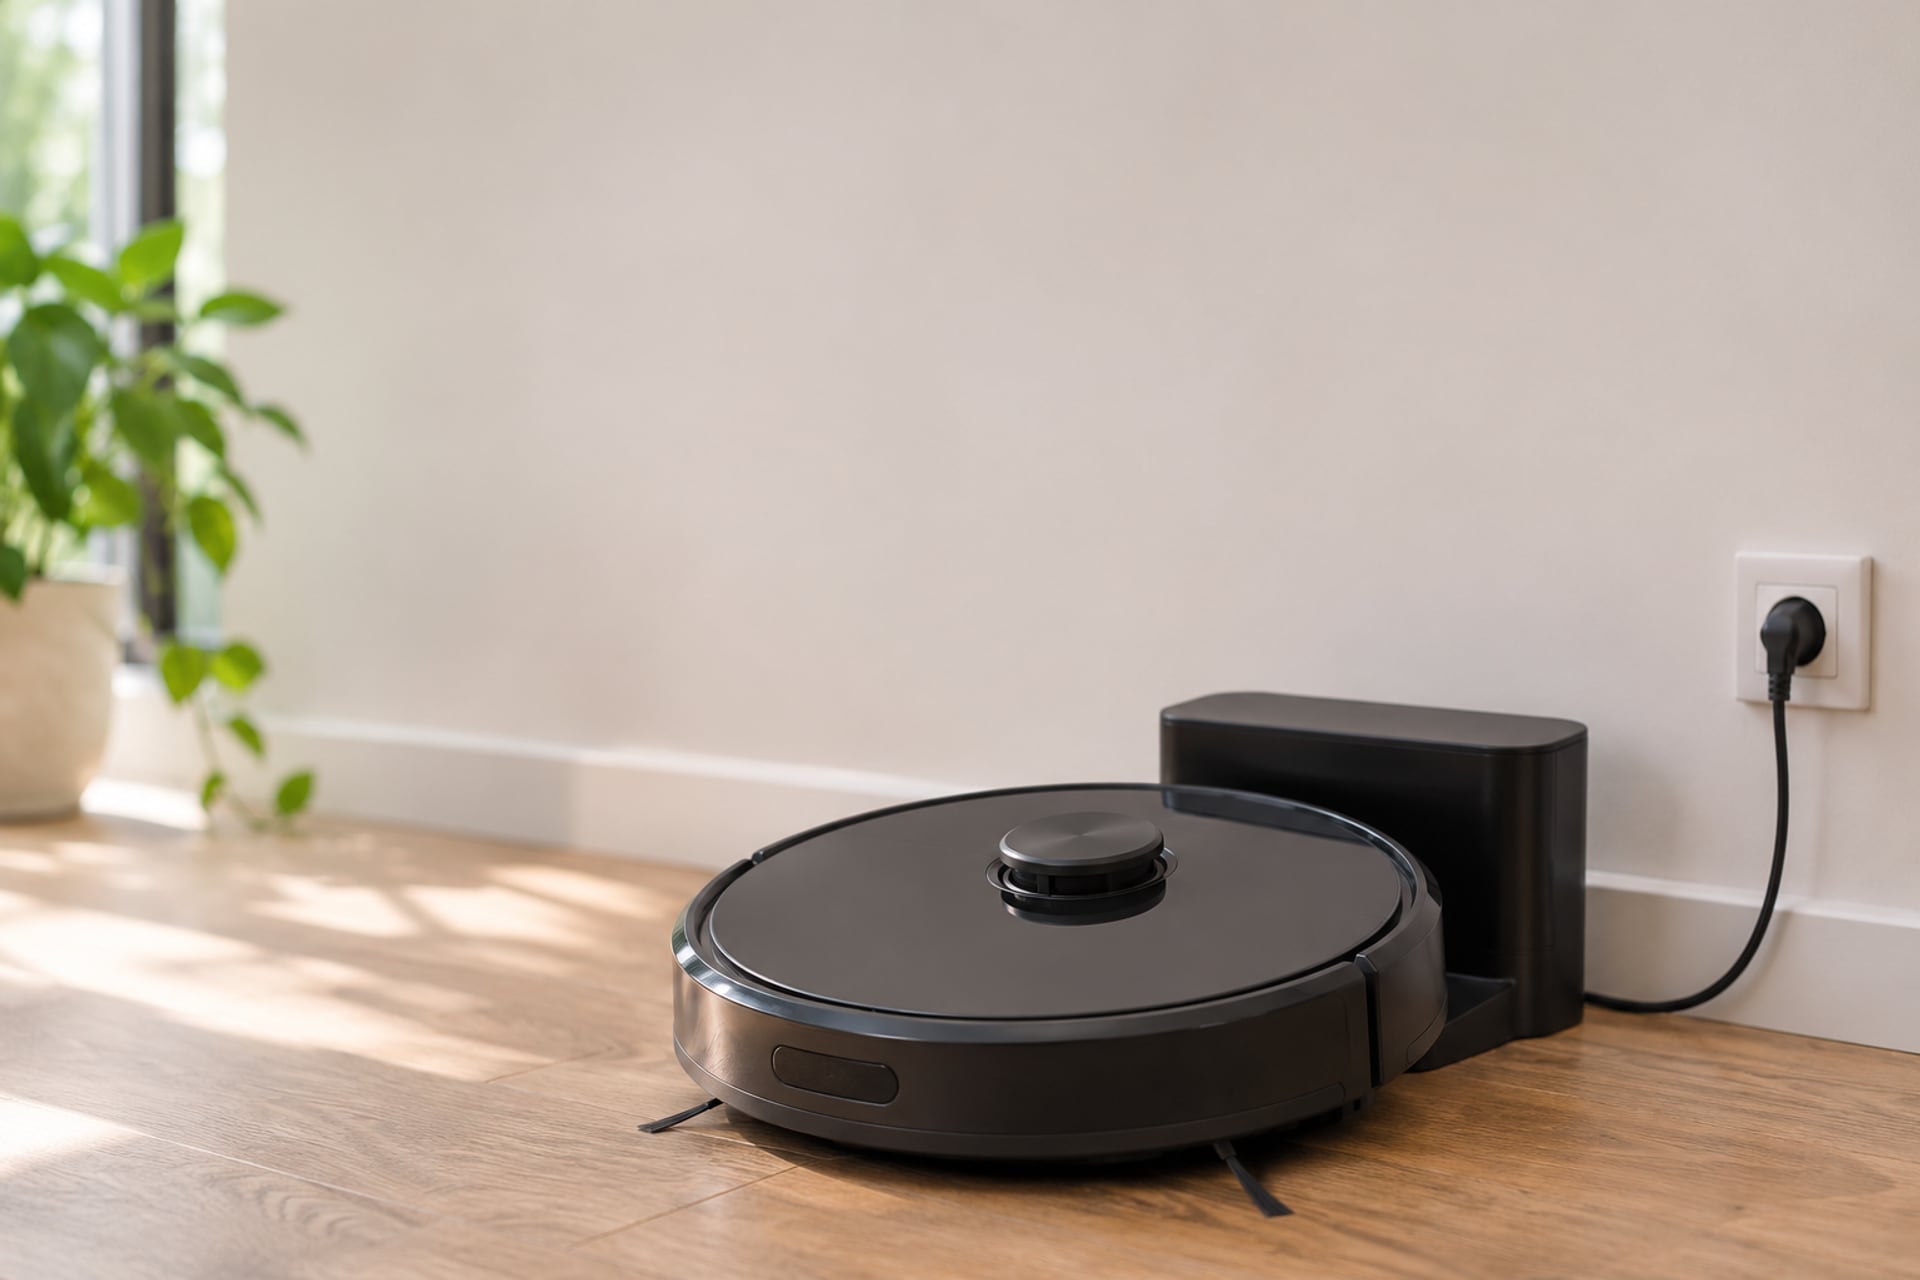
A Roomba that will not charge is almost never a mystery for long. iRobot's support page for robots that do not turn on or charge points to three places to look, in this order: whether the dock has power, whether the charging contacts are clean and undamaged, and whether the battery needs to be woken, reseated or replaced. Most owners find the cause in the first two.
This guide follows that order. It starts with the checks that take a minute, moves to the contacts, explains the reset steps iRobot describes for specific series, and then decodes the charging error numbers using iRobot's own chart. Where the maker does not say something, we say so instead of guessing. Every fix below is attributed to the iRobot page it comes from, and the pages are listed at the end.
The Quick Checklist
-
Look for a light on the dock
Most docks have a light. If yours is dark, the problem is power, not the robot. Reseat the cord at the outlet and at the dock, and try the outlet with another device.
-
Reseat the robot on the dock
Lift it off and set it back, wiggling it slightly so the metal contacts line up. iRobot says the dock light should come on for about 4 seconds once the robot is aligned, and the robot should beep.
-
Clean the charging contacts
Unplug the dock, then clean the metal contacts on the robot and on the dock with a lightly dampened melamine foam pad or a lightly dampened cloth, until they shine.
-
Check the contacts for damage
iRobot says green or copper-colored contacts are damaged, and the robot or the dock may need to be replaced through Customer Care.
-
Reseat the battery
If the robot shows no lights at all, remove and reinstall the battery. iRobot says this reboots the robot and can clear existing errors, with no waiting period.
-
Read the error number
If the robot or the app shows a charging error, look it up in the table below. Each number points to a specific fix.
Check the Home Base and Power
Before you blame the robot, check the dock. iRobot's page lists this as the first real step: is there a light on the dock? If yes, power is reaching it and you can move on. If no, work through the power path.
On a dock that empties the bin (iRobot calls these AutoEmpty docks), iRobot says a red light shows when the dock is powered, and the robot should beep when it lines up with the contacts. Reseat the cord at both ends, and test the outlet with another device. If the cord is damaged, replace it. If the cord is fine and the dock still has no power, iRobot says the dock needs to be replaced.
Not every dock has a light. iRobot names the Roomba Essentials 1, the Roomba 200/2000 series and the Roomba 100/1000 series with the standard dock as models without dock lights. For those, the check is simpler: make sure the cord is fully seated at both ends.
Two Things That Look Like a Fault
First, the dock light is not meant to stay on. iRobot says it stays lit for about 4 seconds after the robot docks and then turns off while charging continues. The Roomba Combo 10 Max and Essentials 2 docks keep the light on for 60 seconds. Second, a red light on the robot means the battery is too low to start, which is a reason to leave it on the dock a while, not proof of a defect.
On the Roomba 200/2000 series, iRobot also notes a position tip: leave a gap of roughly 1 cm to half an inch between the dock and the bumper. Pushing the robot too far in can break the charging connection. If your robot docks in an unusual way, check the manual. iRobot says some models dock differently, such as the Combo j9+, which faces its camera toward the dock, and the Combo 10 Max, which always docks backward.
Clean the Charging Contacts
Dirty contacts are the most common cause of a robot that sits on the dock and never charges, and the fix costs nothing. iRobot's page and its charging error articles describe the same method.
How to Clean the Contacts, the iRobot Way
-
Unplug the dock and wait
iRobot's article on charging error 19 says to unplug the base and wait 60 seconds before you touch anything.
-
Turn the robot upside down
Lift the robot off the dock and set it on a flat surface, wheels up, so you can see the metal contact strips on its underside.
-
Wipe with melamine foam or a damp cloth
iRobot's page recommends only two materials: a lightly dampened melamine foam pad (the kind sold as a magic eraser) or a lightly dampened cloth. Rub the contacts on the robot and on the dock until they have a visible shine.
-
Open the contacts on the newer docks
On AutoFill and AutoWash docks, iRobot says you press a button where the wheels sit to expose the contacts before you clean them.
-
Check the caster wheel and brushes
The same page adds a care step for robots that charge inconsistently: remove hair and debris from the brushes, pegs and bearings, then pull out the front caster wheel, clear the well and axle, and click it back in. iRobot suggests checking the brushes weekly, or twice weekly in a home with pets.
-
Plug the dock back in and check the light
If the dock light does not come on, go back to the power check above.
Wake or Reset the Battery
If the dock is powered and the contacts are clean, the next suspect is the robot's own electronics or battery. iRobot describes a few resets, and which one applies depends on the series. We list only what the maker states.
New Robot or New Battery
iRobot's page says a replacement service robot does not include a battery, so the original battery has to be moved across. It also says a new lithium-ion battery must be woken on the dock before first use. The battery installation steps are in a separate iRobot article, so follow it for your model.
The Ship Mode Reset
For the Roomba 100/1000 series, the 200/2000 series and the Max 700 series, which iRobot lists for robots that shut down right after leaving the dock or do not gain battery percentage, the page describes this reset:
- Take the robot off the dock and set it on a flat, level surface.
- Hold the POWER button for at least 30 seconds, then release it.
- Tap POWER again and confirm that no lights come on.
- Put the robot back on the dock within 4 minutes.
- Give it 30 seconds or more to start up. It should announce that it is charging.
iRobot says the Roomba Plus 400 and Plus 500 are covered by the ship mode step too. For other series, iRobot's page points to its separate ship or sleep mode article, then reactivating the robot on the dock, so follow that article or your manual for your exact model.
Reseat the Battery
This is the reset that appears across iRobot's pages. Remove the battery, put it back, and the robot reboots. In the page on charging error 19, iRobot goes further: if the error continues, remove the battery and leave it out of the robot for at least 30 minutes before reinstalling it. For error 20, the chart says to leave it out for 15 minutes.
Roomba Charging Error Codes
When a Roomba shows a charging error, the number tells you where to look. The table follows iRobot's own chart of charging errors for the Roomba 500 to 900 series, e, i, j, s and m series, and the 100/1000, 200/2000, Plus 400, Plus 500 and Max 700 series. A few numbers are missing because the chart does not cover them. Codes 101 to 121 in the Roomba Home app follow the same pattern with 100 added to each number.
| Error | What iRobot says it means | What iRobot says to do |
|---|---|---|
| 1 | Battery not detected | Remove and reinstall the battery |
| 2 | Charge fault (over-current) | Confirm you are using an authentic iRobot lithium-ion battery, and check for liquid damage |
| 3 | Charging system fault | Try charging again, and check for liquid damage |
| 4 and 5 | Low or no current from the dock or the robot | Clean the charging contacts |
| 6 and 7 | Battery too hot or too cold | Bring the robot to room temperature and try again |
| 8 | The robot cannot communicate with the battery | Confirm the battery is authentic, then remove and reinstall it |
| 9 and 11 | Battery failure or battery hardware failure | Confirm the battery is authentic, then remove and reinstall it. It may need replacing |
| 17 | The battery may not be authentic | Use an authentic iRobot battery, and remove and reinstall it |
| 19 | Charging timed out | Remove and reinstall the battery, and clean the charging contacts |
| 20 | Battery fault, or not ready to charge | Remove the battery for 15 minutes, then reinstall it. Replace it if the error persists |
| 21 | Docked but could not charge | Clean the charging contacts |
What iRobot says it means
Show specifications
- 1
- Battery not detected
- 2
- Charge fault (over-current)
- 3
- Charging system fault
- 4 and 5
- Low or no current from the dock or the robot
- 6 and 7
- Battery too hot or too cold
- 8
- The robot cannot communicate with the battery
- 9 and 11
- Battery failure or battery hardware failure
- 17
- The battery may not be authentic
- 19
- Charging timed out
- 20
- Battery fault, or not ready to charge
- 21
- Docked but could not charge
What iRobot says to do
Show specifications
- 1
- Remove and reinstall the battery
- 2
- Confirm you are using an authentic iRobot lithium-ion battery, and check for liquid damage
- 3
- Try charging again, and check for liquid damage
- 4 and 5
- Clean the charging contacts
- 6 and 7
- Bring the robot to room temperature and try again
- 8
- Confirm the battery is authentic, then remove and reinstall it
- 9 and 11
- Confirm the battery is authentic, then remove and reinstall it. It may need replacing
- 17
- Use an authentic iRobot battery, and remove and reinstall it
- 19
- Remove and reinstall the battery, and clean the charging contacts
- 20
- Remove the battery for 15 minutes, then reinstall it. Replace it if the error persists
- 21
- Clean the charging contacts
Reading the Table
Two patterns stand out. Errors 4, 5, 19, 21 and 105 all point at the contacts, so cleaning them is the right first move for a long list of codes. Errors 2, 8, 9, 11 and 17 all point at the battery, and four of them tell you to confirm it is authentic. iRobot's article on charging error 8, which it says applies to all Roomba and Braava models, adds the reason: aftermarket batteries can cause unexplained charging errors.
iRobot's separate article on charging error 105 describes it as a low electrical current reaching the robot. The cause could be the robot, the battery, the dock or the power cord, so the steps cover all four: secure the plugs at the dock and the outlet, clean the contacts, check for damaged contacts and reseat the battery. On a dock that empties the bin, iRobot says to briefly remove the bag and confirm a red light appears on the dock.
If none of these steps clears the error, iRobot's answer is the same on every page: contact iRobot Customer Care. We cover when that makes sense in the last section.
When the Battery Is the Problem
A battery that fails or reports a hardware fault is behind errors 9 and 11, where iRobot's chart says the battery may need replacing after the authenticity check and a reseat. In the Roomba Home app, error 114 is described as an internal battery failure, and the chart's instruction is simply to replace the battery. A robot that charges but runs for a very short time is a related symptom, which iRobot covers in a separate article on short battery runtime.
The catch is where the replacement comes from. iRobot's pages repeatedly say to use an authentic iRobot lithium-ion battery. When we read Amazon's listings on November 6, 2026, the iRobot XLife battery for older Roombas was not available to buy, and iRobot's pages do not say where each model's battery is sold. The practical step is to ask iRobot Customer Care for the part number for your serial number before you order anything.
An Older Robot with a Third-Party Option
If your robot is from the 500, 600, 700 or 800 series era, there is a third-party battery on the market. It is not an iRobot product, and iRobot's guidance to use an authentic battery still applies to your warranty and to the error codes above. We include it because owners of these older robots often have no other route.
A Third-Party Battery for Older Roombas
This is the one replacement battery we looked at, from the seller's own listing. Match it to your exact model before you order, and expect it to be treated as an aftermarket part.
-
1Roomba 500, 600, 700 and 800 series (third party)
Tenergy 14.4V 3850mAh NiMH Battery for Roomba 800 700 600 500 Series
A battery made by Tenergy, not by iRobot. The listing states 14.4 volts, 3850mAh and up to 1000 recharge cycles, and says it is compatible with all models of the 500 and 700 series plus 618, 620, 630, 635, 645, 650, 655, 660, 870, 880, Create 2 and Scooba 450. It is a NiMH battery, so it is not listed for the e, i, j or s series. The seller adds a 12 month extended warranty and bonus brushes.

Compatibility is the seller's statement, not iRobot's. Listing details read on November 6, 2026. Budget tier ($).
Check the model number on the underside of your robot against the list before you buy. If your model is not on it, do not assume it fits. If your robot is newer, the lithium-ion route runs through iRobot.
When to Contact iRobot or Replace the Robot
If you have worked through the dock, the contacts, the reset and the error table and the robot still will not charge, contact iRobot Customer Care. iRobot asks you to have three things ready: the robot, charged if possible and with you, its serial number, and proof of purchase from an authorized retailer if you are making a warranty claim. For damaged contacts, iRobot's pages say the robot or the dock may need to be replaced, so the answer may be a repair or swap, not a cleaning job.
If you are weighing the company's current position before you spend money on parts or a repair, our iRobot bankruptcy page covers what the news means for owners. Our iRobot Roomba reviews compare the current models.
When a New Robot Is the Better Spend
An older robot with a failed battery, damaged contacts and an error that comes back is a fair moment to look at a new one. The cost of a battery, a dock and your time adds up, and a robot from the 500 or 600 era lacks features that current models have. We do not print prices, because they change, but the budget tier is where a replacement for a basic Roomba usually sits.
A Budget Replacement from iRobot
If a replacement makes more sense than a repair, this is the entry model in the iRobot range we looked at.
-
1Entry Roomba with LiDAR (budget tier, $)
iRobot Roomba 105 Vac Robot Vacuum
The listing states ClearView LiDAR mapping, 70 times more power-lifting suction than Roomba 600 series robots, a multi-surface brush and an edge-sweeping brush, and Wi-Fi on a 2.4 GHz network. It says the robot sends itself for a recharge and picks up where it left off. The warranty is listed as 1 year from the manufacturer. Battery capacity and run time are not stated.

Specifications are the maker's, from the product listing read on November 6, 2026. The 70 times figure is iRobot's own comparison and not something we measured.
If the Roomba is not the brand you want to stay with, our best robot vacuums guide sorts current models by home and budget. If you own a Shark and it is the one that will not charge, see our Shark robot vacuum not charging guide instead.
Roomba Not Charging FAQ
Sources
- iRobot Customer Care, Roomba and Braava will not turn on or charge, support.irobot.de, read on November 6, 2026 Source for the dock power checks, the dock light behavior, the contact cleaning method, the caster wheel and brush care, the ship mode reset for the 100/1000, 200/2000 and Max 700 series, the battery reseat and the details to have ready for Customer Care. The same article is listed on homesupport.irobot.com.
- iRobot Customer Care, Roomba charging error messages chart, support.irobot.de, read on November 6, 2026 Source for the meanings and fixes of charging errors 1 to 21 and 101 to 121 in the table.
- iRobot Customer Care, Charging Error 8: All Roomba and Braava Models, support.irobot.ca, read on November 6, 2026 Source for the battery communication fault and the warning that aftermarket batteries can cause unexplained charging errors.
- iRobot Customer Care, Charging Error 19: All Roomba and Braava Models, support.irobot.de, read on November 6, 2026 Source for the unplug and wait 60 seconds step, the melamine foam cleaning method, the green or copper contact warning and the 30 minute battery rest.
- iRobot Customer Care, Charging Error 105: All Roomba Models, support.irobot.de, read on November 6, 2026 Source for the low current description and the power, contacts and battery steps.
- Tenergy NiMH battery and iRobot Roomba 105 Vac product listings, Amazon US, read on November 6, 2026 Source for the third-party battery's stated voltage, capacity, cycle count, compatibility and warranty, and for the Roomba 105 Vac specifications. All figures are the seller's and the maker's own statements.
The RobotVacuumer letter
New robot vacuum picks and plain advice on choosing and living with one, about once a month.